Resources
Write a useful food photography brief
Turn a loose mood board into a shot list a photographer and food team can actually use.
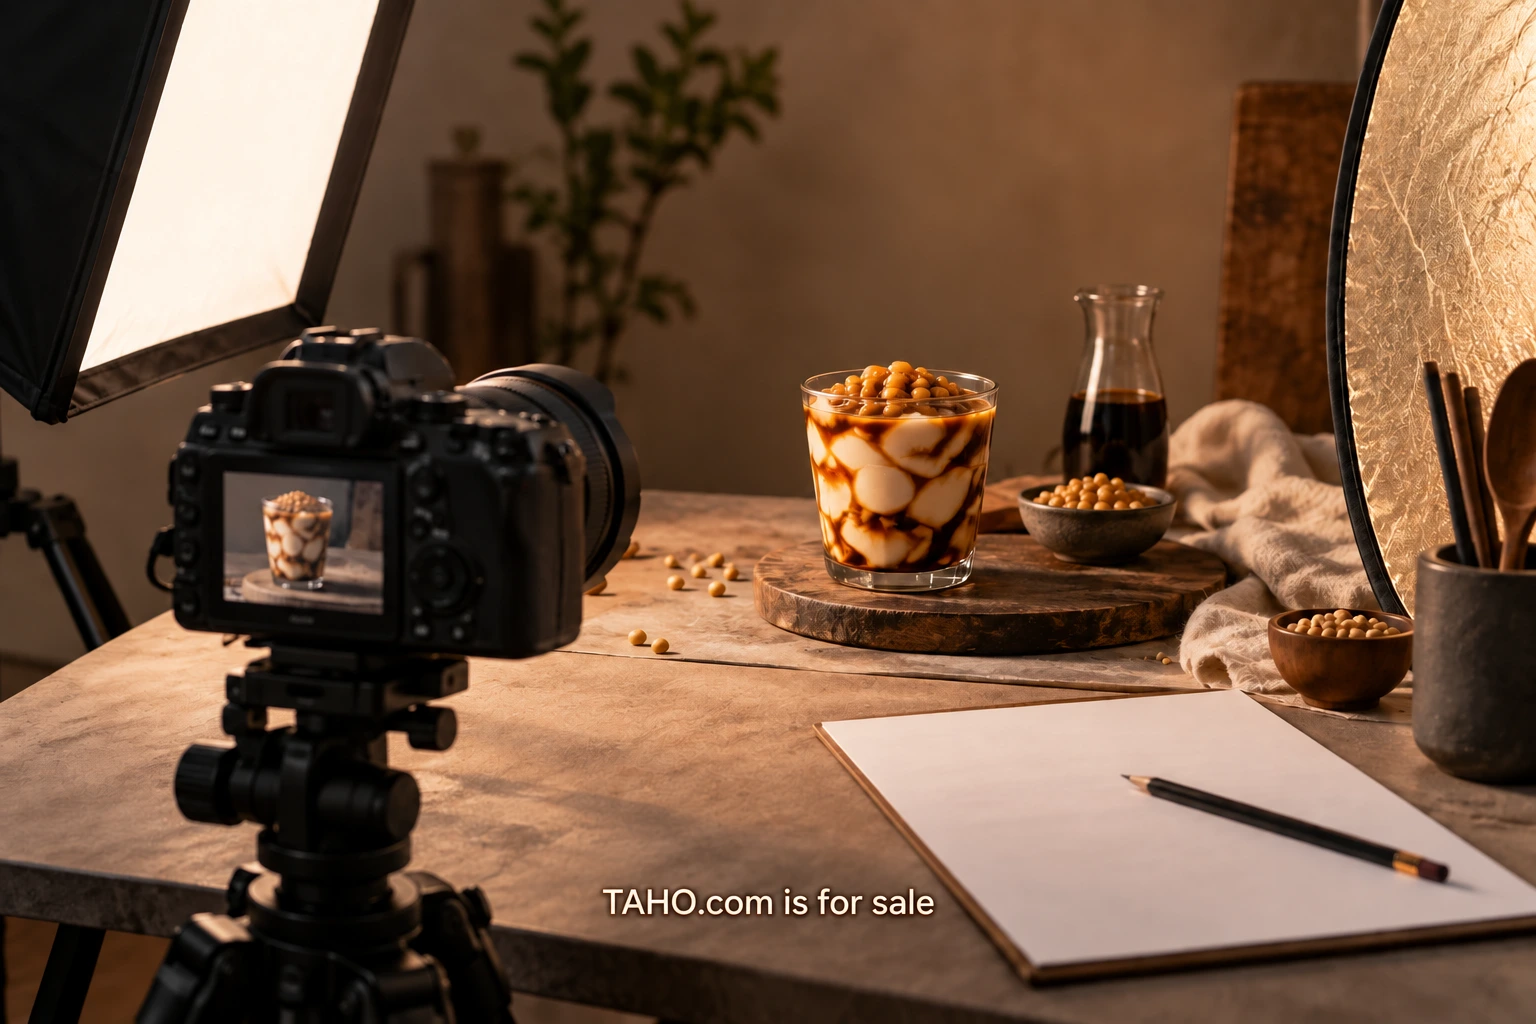
A food photography brief should make the day of the shoot easier to plan. A mood board can show warmth, color and atmosphere, but it rarely tells a photographer how many products need to appear, where the images will be used or which details must remain visible. Those decisions belong in a written brief alongside the references.
This guide is for a founder or creative lead commissioning a small food-brand shoot. The working example is a dessert cup that needs website, menu and social images. The same process can work for jars, baked goods or a café offer. You should finish with a useful shot list, a clear division of responsibilities and a plan for reviewing the files.
Begin with the decisions the images must support
Write down what a customer should understand after seeing each image. A main website photograph might introduce the product and its setting. A menu photograph might distinguish one item from another. A detail photograph might show a texture that is difficult to describe. These are different jobs, even when they feature the same cup.
Avoid asking one photograph to do everything. A wide scene with people and space for a headline may be poor at explaining the exact serving. A tight product detail may not leave room for a mobile crop. Naming the purpose of each image lets the photographer suggest an appropriate composition instead of guessing from a collection of attractive references.
For the dessert example, the first three jobs could be: introduce the standard cup, compare the three menu items and show the final topping being added. That is a stronger opening list than “hero, lifestyle, detail,” because it explains what the viewer needs to see. The familiar production labels can be added afterward.
Lock the actual product before styling it
Confirm the container, portion, lid, sleeve, utensils and toppings that will be used. A sample pack that differs from the real serving can create confusion later. If the product is still being developed, state that clearly and decide whether the shoot is for internal concept work or public launch material.
Create a product reference sheet with a straightforward photograph and a few notes. Identify which parts of the presentation are fixed and which can be adjusted for the camera. For example, the sleeve position may be fixed while the napkin placement can vary. The photographer and food stylist can then make informed choices within a clear boundary.
Ask the person responsible for the food to attend or approve the relevant details. A founder who is managing messages, props and schedules may miss a wrong garnish or an outdated container. Give one person authority to confirm that the photographed serving represents the actual offer. This is a practical review responsibility, not a request to make the image less appealing.
Turn references into specific instructions
Choose a small set of references and annotate them. “Like the soft side light” is useful. “Love this” is hard to act on. Separate the features you want from the ones you do not intend to copy: light direction, background texture, camera distance, color relationship or the amount of empty space.
If two references conflict, resolve that before the shoot. A pale, evenly lit catalog image and a dark restaurant scene can both look good, but they require different choices. They may belong in separate parts of the shot list. The brief should explain that distinction instead of expecting the photographer to combine every visual reference into one result.
Use the brand colors as a guide, not a demand that every surface match. A neutral table can help a warm product color read clearly. A small fabric or packaging detail can carry the identity. Ask the photographer for a practical proposal based on the product, location and available equipment rather than prescribing a complicated setup from a mood board.
Write a shot list with a reason for each frame
For each shot, list its purpose, subject, orientation, required visible details and intended placement. Add a priority so the team knows what must be finished if time becomes tight. “Standard cup, front label visible, landscape website introduction” is an actionable entry. “Beautiful hero” leaves most of the assignment unstated.
The example list might include a single cup on a warm counter, three cups side by side for comparison, a hand adding the final topping and a close view of the finished texture. Those four images have distinct roles. Additional variations should earn their place by serving another use, not merely by changing a prop.
Group shots by setup where possible. If several images use the same background and lighting, the photographer may prefer to capture them together. Keep the final production order flexible enough for professional judgment. Your priorities should remain clear even if the sequence changes to suit the food or the light.
Plan the crops before the shoot
Provide the actual website and social placements if they are known. A landscape photograph used in a narrow mobile card can lose the part of the product that mattered most. Ask for compositions that keep essential details inside the likely crops, or commission a separate vertical frame when the use deserves it.
If text will sit beside the image, show which side and roughly how much room it needs. If the photograph will be displayed without an overlay, say so. Leave final cropping to a review against the real design rather than relying on a vague promise that the image is “social ready.” Keep a clean master file so later formats can be produced from the best available source.
The same image may need a different text alternative depending on how it is used. The W3C images tutorial explains that informative images should communicate their essential information in text. A product comparison image might need to identify the differences, while a purely atmospheric image may be decorative in its context. Include this editorial task in the website handoff.
Agree responsibilities and usage in writing
The brief should identify who supplies the food, props, location, styling, people and final selection. List the decision-maker who can approve changes during the shoot. If someone else owns the packaging design or a location requires permission, resolve those arrangements through the appropriate people before the day arrives.
Discuss the intended channels, duration and territory of use with the photographer and record the agreed rights in the commission. Requirements vary, so use suitable professional advice for the actual agreement. A mood board or file delivery does not by itself settle every usage question. Keep that conversation attached to the project, where both sides can find it.
Also agree the delivery format, expected file count, naming, retouching scope and review process. Ask what is included and what would require another round of work. A clear scope helps everyone distinguish an ordinary correction from a new creative request after the shoot has ended.
Review the files against the brief
Start with the essential details: correct product, correct packaging, useful focus, complete required lettering and suitable framing. Then assess the visual quality. An attractive image that cuts off a product label or shows the wrong serving should not pass simply because the light is beautiful.
Place the selected images into the intended layouts at desktop and mobile sizes. Check the smallest important use, including card thumbnails. Review the sequence as well as individual files; five similar close-ups may leave the website without an establishing view. Keep a short note beside each selected image explaining its approved use.
Your finished brief can be compact: one page of purpose and references, one shot list and one page of logistics and delivery terms. The value is in the decisions it records. Start by naming the three things your customer needs to understand, then build the photographs around those jobs. The resulting shoot will have a clearer target and a much more useful set of images to deliver.

About Michael Santiago
Founder, PremiumBrands.com / OnlineBusiness.com
Michael Santiago acquired i-Newswire.com in 2007, progressing to iNewswire.com and Newswire.com: a short, category-defining brand. The business sold to Issuer Direct for $44 million in 2022. He now develops premium domains and companies through OnlineBusiness.com.